Welcome ,

PageCarton Documentation

Interested in coding widgets, classes, or methods? Check out the Code section!

How to Use Access Level Widgets to Control Content Visibility in PageCarton

Share

article by Elizabethh in About PageCarton

This article explains how to use PageCarton's Access Level Widgets to control content visibility based on user roles, such as content owners, invited users, or administrators. It helps ensure t...

This article explains how to use PageCarton's Access Level Widgets to control content visibility based on user roles, such as content owners, invited users, or administrators. It helps ensure that only authorized users can manage or modify content, thereby improving both usability and security across your website.

Understanding Access Levels

Access levels determine who can see what is on your website. It's important to define which user should be allowed to view the content. Numerical values called AUTH LEVELS are being used to represent different types of users.

Here are the standard access levels commonly used:

Example Use Case:

  • If you only want owners and super users to be able to edit or delete a post, use

object_access_level: [98, 99]

  • If you want all signed-in users to see a button (e.g., 'Comment'), use

object_access_level: [1]\

PageCarton Access Level Widget

This ensures proper visibility control, and also enhances the security of your site by making sure that only users with the appropriate permissions such as the content Owner (98) or Super User (99) can view and interact with these sensitive actions.

Without access control, unauthorized users might see or attempt to perform actions they shouldn't have access to, which can lead to errors or vulnerabilities. Wrapping your content in an access-level condition provides a clean, secure, and professional experience for all users.

  • <widget> If it is not to be used inside another widget.
  • <widget-inner> If it is to be used inside another widget.
  • object_access_level: Limits visibility to users listed.

Example: To Hide an Edit Button from Users and make it visible for website Owner and Admin only.

This ensures that only users with the appropriate roles such as the Owner (98) or Admin (99) can see and interact with the button.

Why This Matters:

By defining and using access levels:

  • You keep sensitive actions secure.
  • You improve the user experience by showing only relevant actions to each user.
  • You avoid cluttering the interface for general visitors.
5 days ago

How to Add Edit and Delete Buttons with URLs in PageCarton

Share

article by Elizabethh in

This article explains how to add functional Edit and Delete buttons to content items in PageCarton, using direct URL links to PageCarton edit and delete page. These buttons allow owners and admin...

This article explains how to add functional Edit and Delete buttons to content items in PageCarton, using direct URL links to PageCarton edit and delete page. These buttons allow owners and administrators to easily manage individual content entries without needing to browse through the backend manually.

Why Add Edit and Delete Buttons?

This is especially important for maintaining efficient workflows and by enabling inline editing and deletion, you ensure that authorized users can manage content quickly, directly, and securely.

Once you have your content set up in PageCarton, you can add an Edit and Delete buttons to allow authorized users to modify specific content entries directly from the frontend. This button links to the PageCarton content editor using a structured URL that includes the object's unique identifier, typically article_url.

Step-by-Step Implementation

Step 1: Add the Edit Button Url

To include an Edit button url that links to PageCarton's content editor:

  • The placeholder dynamically targets the current article.
  • This link opens the article editor in a new tab.

Step 2: Add the Delete Button Url

To enable a Delete option with a confirmation dialog:

  • This button triggers the delete operation for the respective content.
  • The onclick confirmation helps prevent accidental deletions.

Step 3: Embed Buttons in a Widget or Template

You can combine both buttons and place them inside any widget or layout. Here's a sample implementation:

This example ensures that each piece of content rendered includes its corresponding edit and delete actions.

Once you have your content set up in PageCarton, you can add an Edit button to allow authorized users to modify specific content entries directly from the frontend. This button links to the PageCarton content editor using a structured URL that includes the object's unique identifier typically article_url.

5 days ago

A Step By Step Guide To Back up and Downloading your Website on PageCarton.

Share

article by in PageCarton Lessons

In the digital age, website is the face of a business or personal brand. Whether it's a blog, an e-commerce site, or a personal website. Backing up your website files is the first step towards secu...

In the digital age, website is the face of a business or personal brand. Whether it's a blog, an e-commerce site, or a personal website. Backing up your website files is the first step towards securing your website. In this guide, we'll walk you through the steps to effectively back up your website on PageCarton.

To Back Up Your Website Files:

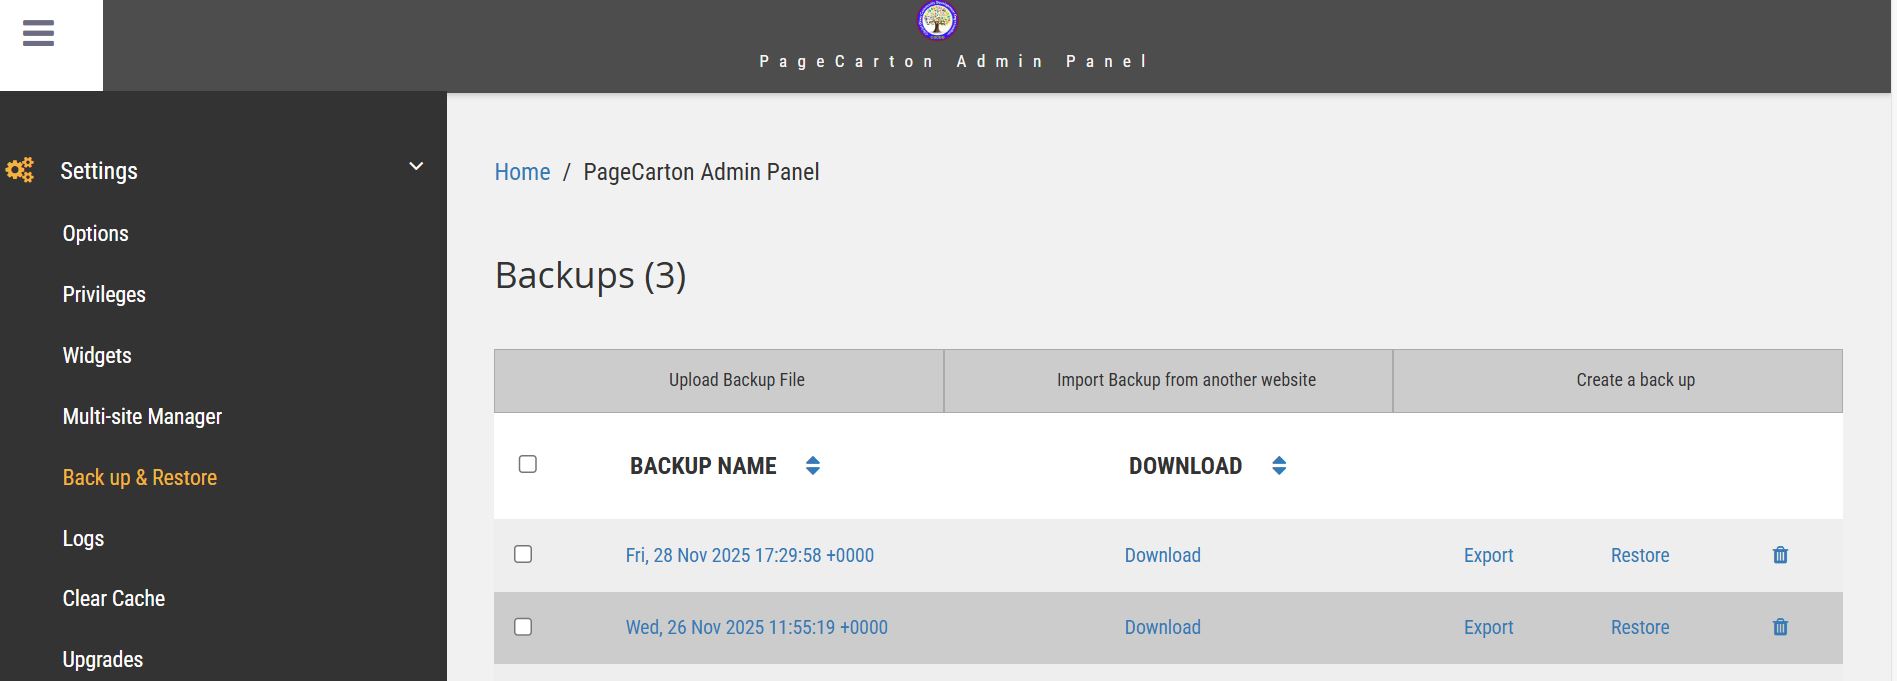
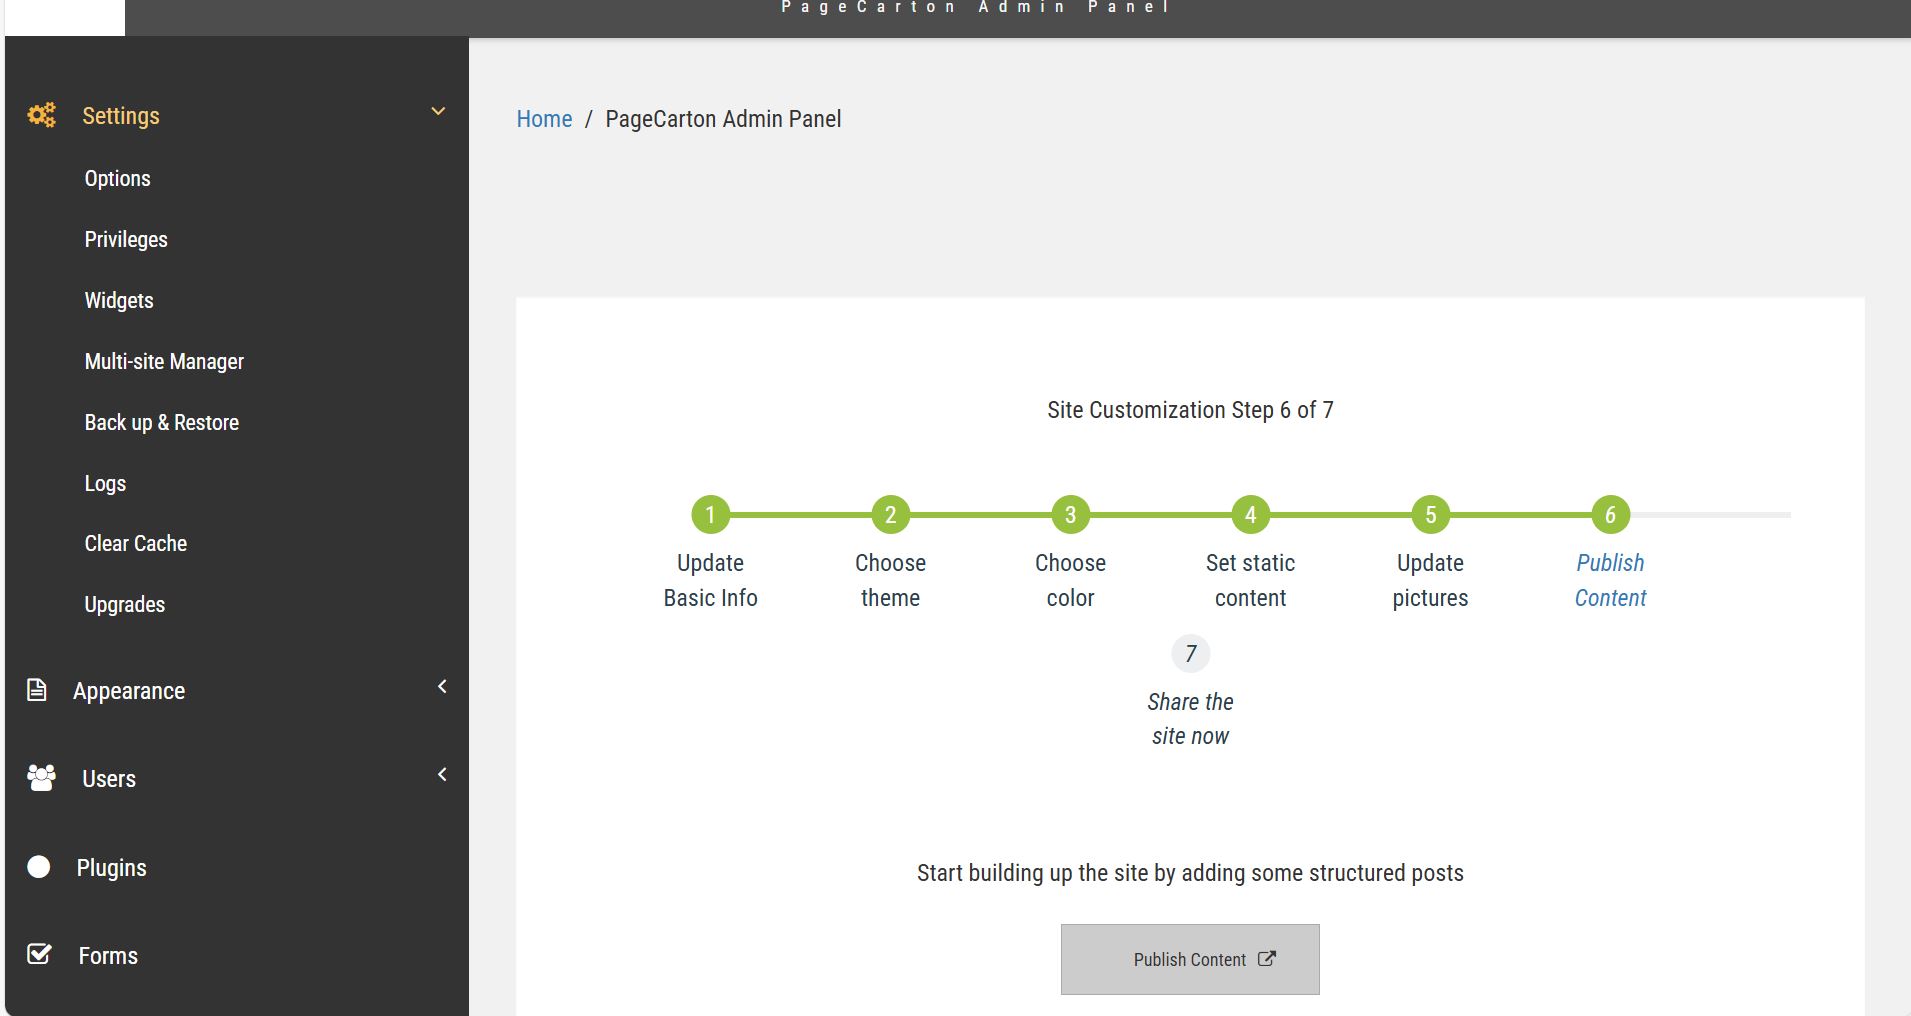
  • Access your Admin Panel.
  • Go to Setting, click on Backup and Restore.
  • On the Backup page click on Create Backup.
  • Give it a Backup description (e.g myfirstbackup), then click on Create.


To Download Your Website Files:

Downloading the backup of your website is a step in ensuring that you have a local copy of your website's files and database. Here's a step-by-step guide on how to download the backup:

  • Access your Admin Panel.
  • Go to Setting, click on Backup and Restore.
  • On the Backup page, your recently Back up file will be there with download option.

                        You can double click on the downloaded file to View.

  • Click on Download.
  • You can check your backup file in your files downloads.


To Export Your Files into another website:

Exporting the backup of your website involves creating an export link containing your website. Here's how you can export the backup:

  • Access your Admin Panel.
  • Go to Setting, click on Backup and Restore.
  • On the Backup page click on Export.
  • On the Backup Editor, select the desired link expiry time e.g 1hr or 10hrs, then click on Export.
  • You can copy the export URL generated to import into another website.


To Restore Your Website Files:

By restoring a backup, you revert your files to a previous state, undoing any changes made since the backup was created. Here's how you can restore backup file:

  • Access your Admin Panel.
  • Go to Setting, click Backup and Restore.
  • On the Backup page click on Restore.
  • On the Backup Restore page click on Restore to restore yout theme files.


To Upload Your Website Files:

   Uploading a backup file to restore your website is for recovering your site in case of data loss or other issues. Here's how you can restore backup file:

  • Access your Admin Panel.
  • Go to Setting, click Backup and Restore.
  • On the Backup page select Upload Backup.
  • On the Upload Backup page, select upload , open the backup file from your files downloads.
  • Click on Import to upload the Backup file selected.
1 yr ago

Changing Number of Posts to Display on a Widget

Share

Documentation Article by Ayoola Falola in

Another interesting customization feature just came in the latest PageCarton. Users of PageCarton can now change the number of post shown in embedded widget from the admin panel. For example, be...

Another interesting customization feature just came in the latest PageCarton. Users of PageCarton can now change the number of post shown in embedded widget from the admin panel.

For example, before now, when a theme developer set that a theme can only have 3 slideshow pictures on the home page, it was impossible for the user of the theme to make it show 5 slideshow pictures instead. They would have to alter the theme and only users that know html could do that.. But with this new feature, while the user is adding dynamic content through the 'Publish Content' section, they can override the developer's default settings for each post sections on the page easily.

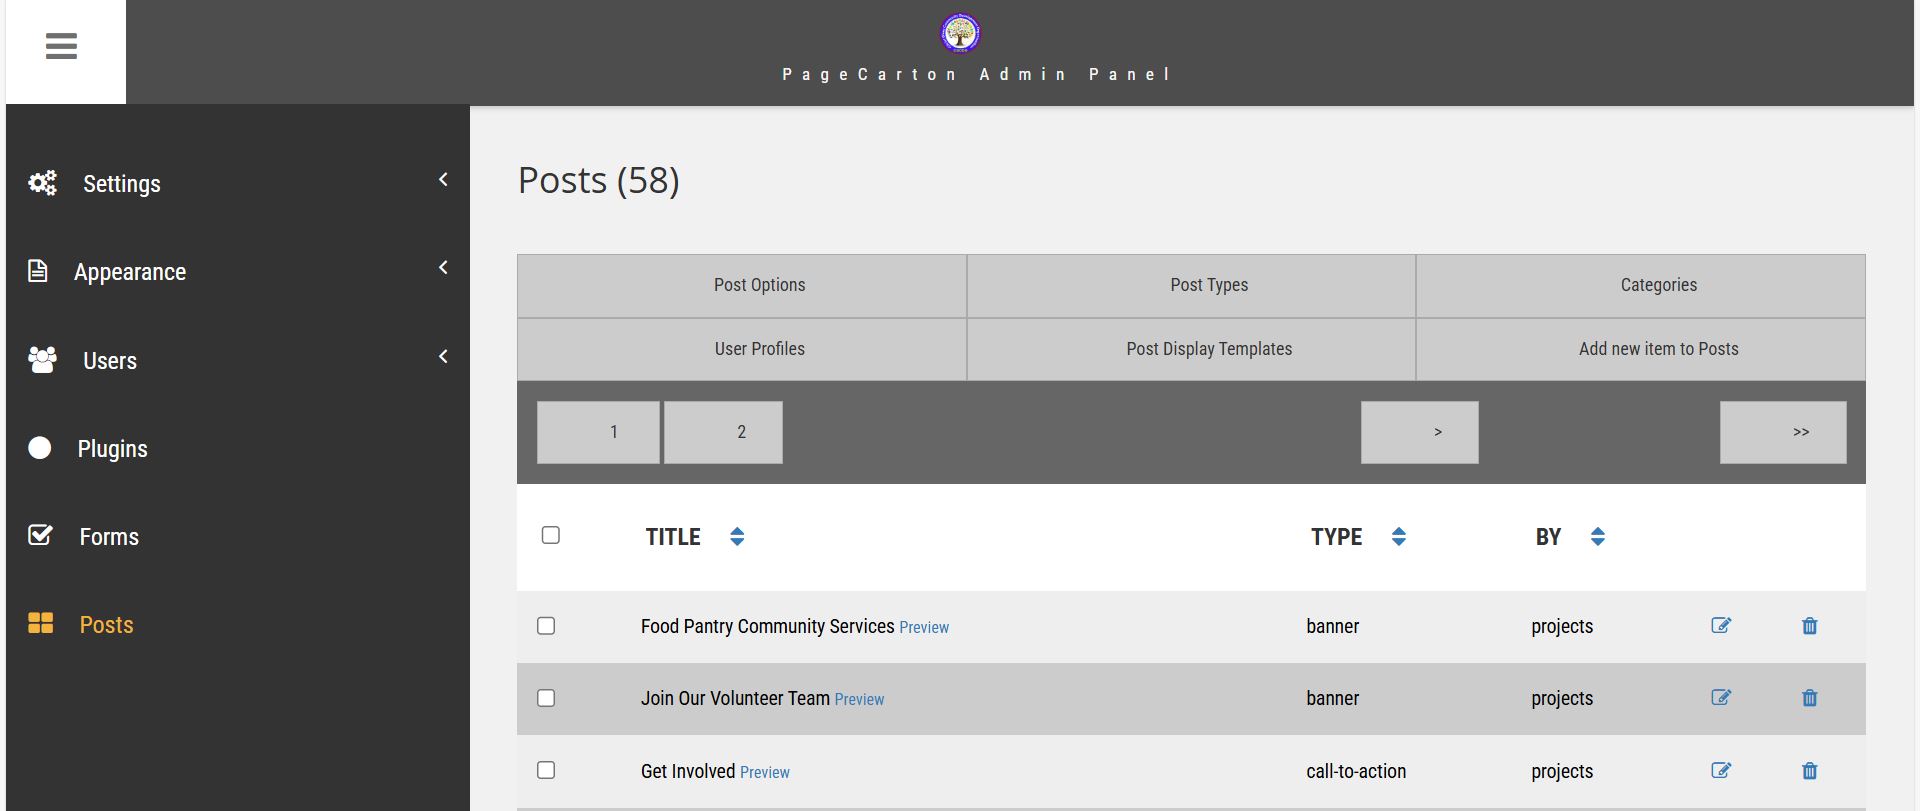
The Publish Content section has also been improved to allow some easy access to individual page settings.And also, it is possible to turn off a whole widget section. 

What do you think about this feature?

1 yr ago

Installing PageCarton via Composer

Share

article by Ayoola Falola in Installation , Advanced Topics

If you have Composer installed on your computer, you can easily get PageCarton up by running the following commands on your command line.  # 1. Download PageCarton via composer compose...

If you have Composer installed on your computer, you can easily get PageCarton up by running the following commands on your command line. 


# 1. Download PageCarton via composer
composer create-project pagecarton/pagecarton --prefer-dist -s dev

# 2. Go into the project
cd pagecarton

# 3. Start PageCarton Dev Server
php page serve


With this, you do not need to install any other server. Easy, right? We think so too.

Now you can open PageCarton on your browser by going to http://localhost:8001

Or the Admin Panel on http://localhost:8001/pc-admin

3 yrs ago

Setting up PageCarton via Docker

Share

article by Ayoola Falola in Installation , Advanced Topics

PageCarton now has a few files in its GitHub repository that helps to set it up on Docker easily. If you are familiar with Docker or a newbie, you should be able to get started with PageCarton...

PageCarton now has a few files in its GitHub repository that helps to set it up on Docker easily. If you are familiar with Docker or a newbie, you should be able to get started with PageCarton on Docker without stress. 

The beauty of working with Docker is that you do not have to worry about setting up your server or configuring it. We have created a few settings in the Docker file to ensure the system will be using a compatible server to run your PageCarton in its container. 

Follow these steps to set up PageCarton on Docker

  1. Install Docker Desktop (If you have not done that already). Go to https://docs.docker.com/get-docker/ to learn how to install Docker Desktop for your operating system.
  2. Start up Docker Desktop and ensure it is running


  3. Clone PageCarton from Github to your local system. For this, you need to launch your command line or terminal and enter the clone command
    git clone https://github.com/pagecarton/pagecarton.git
    
  4. Still on the command line, change directory into the cloned 'pagecarton' directory.
    cd pagecarton


  5. Build PageCarton image on Docker by entering the following command on the command line
    docker-compose up -d


That is it, PageCarton is live and you can go ahead to personalize it!

3 yrs ago
Next →