Welcome ,
  1. Home
  2. Creating A Website Back-Up

PageCarton Documentation


Interested in coding widgets, classes, or methods? Check out the Code section!

Creating A Website Back-Up


Image

Creating A Website Back-Up within PageCarton Admin Panel
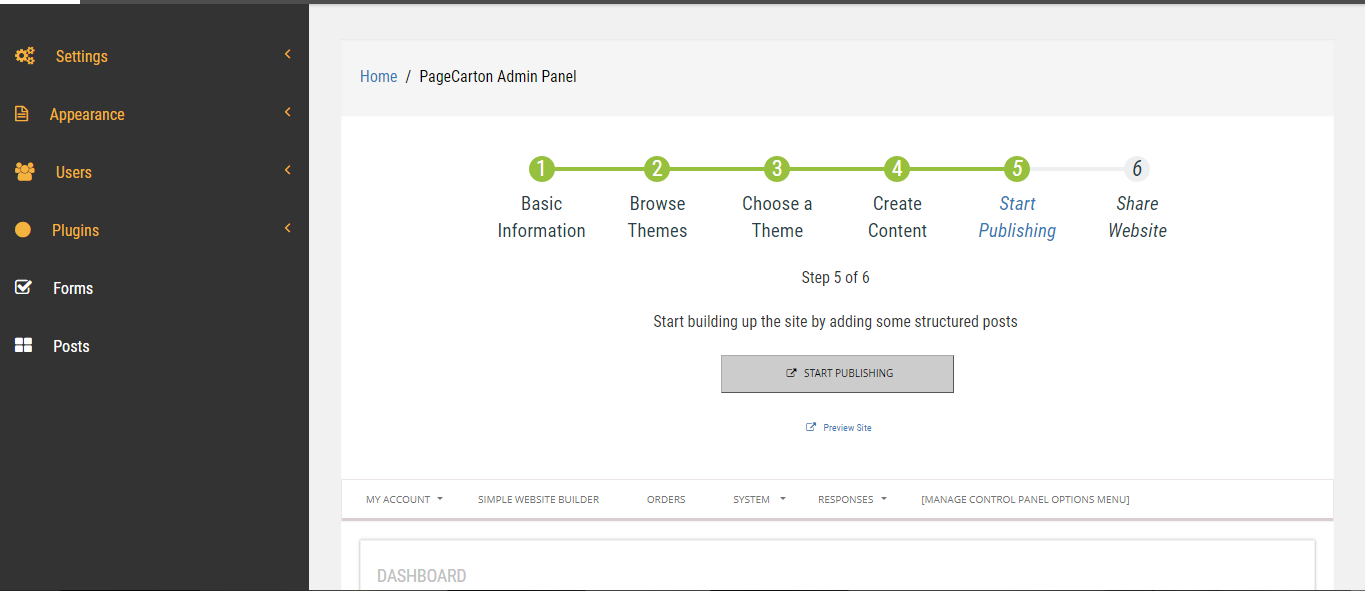
Step One

Log in to your website Admin Panel using your website name /pc-admin (www.example.com/pc-admin)
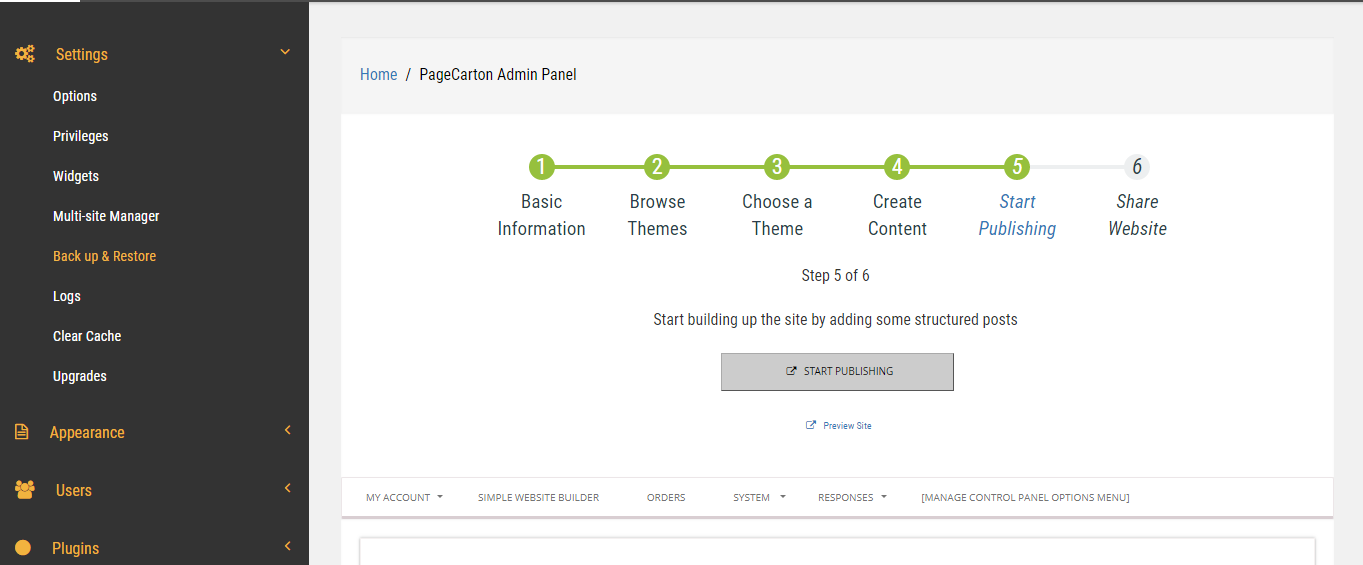
 

Step Two

Click Setting Button after clicking on setting this will list out all the necessary button you can use to make changes to your website.

Click Back and Restore button Wait Patiently for next screen below  
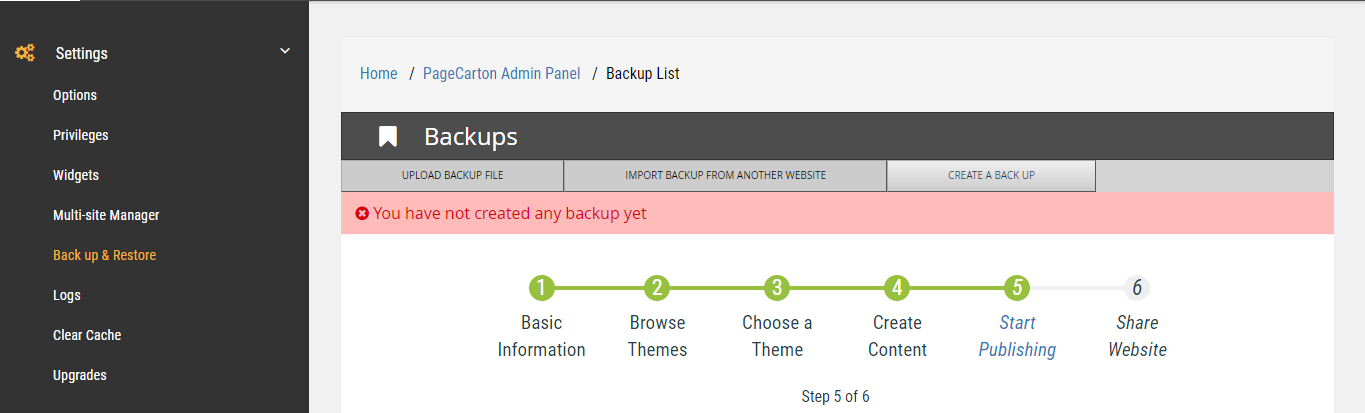
 

Step three

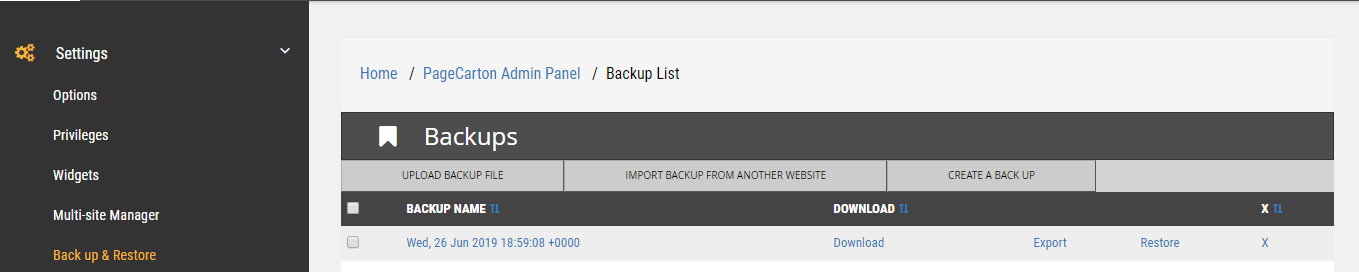
This screen will show you three buttons.

Upload Back-Up Button: allows you to upload your website back-up from your computer System

Import Back-Up from another website Button: allows you to upload your website back-up from another website Domain

for instance if you design your website on server A and you want to move to Server B this button is very useful.

Create a Back Up Button: this button will lead you to another screen to create your first website Back-Up
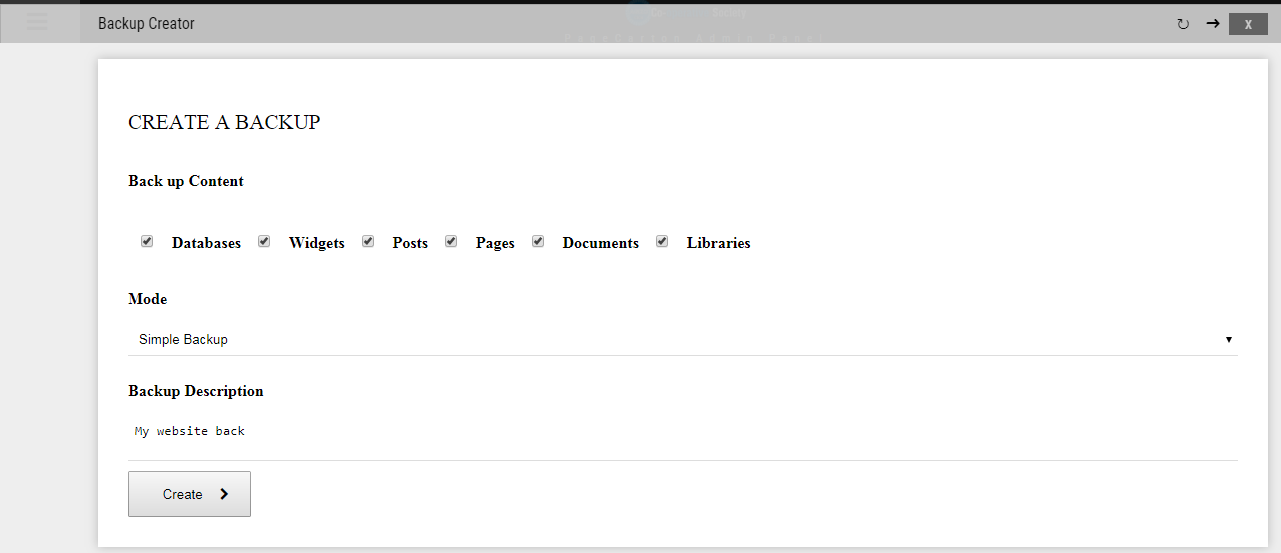


Step Four

You can select which content you would like to create with your Back-Up. You can describe your back with few words (This is Optional).  When you are done Click Create Button and wait for the Next Screen to Come up..


Step Five

Congratulation your Back is created successfully (Click the X button to go back to your window)


Step Six

Now you have successfully create your first website back you can  now download your back-up on your computer for save keep..


Thank you for your time  feel free to comment or you have any question use the comment box..


← Previous "Steps in Creating a Theme""What is PageCarton" Next →


Similar Documentation Article


How to Use Access Level Widgets to Control Content Visibility in PageCarton Photo

How to Use Access Level Widgets to Control Content Visibility in PageCarton

This article explains how to use PageCarton's Access Level Widgets to control content visibility based on user roles, such as content owners, invited users, or administrators. It helps ensure t...

article


How to Add Edit and Delete Buttons with URLs in PageCarton Photo

How to Add Edit and Delete Buttons with URLs in PageCarton

This article explains how to add functional Edit and Delete buttons to content items in PageCarton, using direct URL links to PageCarton edit and delete page. These buttons allow owners and admin...

article


A Step By Step Guide To Back up and Downloading your Website on PageCarton. Photo

A Step By Step Guide To Back up and Downloading your Website on PageCarton.

In the digital age, website is the face of a business or personal brand. Whether it's a blog, an e-commerce site, or a personal website. Backing up your website files is the first step towards secu...

article


Changing Number of Posts to Display on a Widget Photo

Changing Number of Posts to Display on a Widget

Another interesting customization feature just came in the latest PageCarton. Users of PageCarton can now change the number of post shown in embedded widget from the admin panel. For example, be...

Documentation Article


Installing PageCarton via Composer Photo

Installing PageCarton via Composer

If you have Composer installed on your computer, you can easily get PageCarton up by running the following commands on your command line.  # 1. Download PageCarton via composer compose...

article


Setting up PageCarton via Docker Photo

Setting up PageCarton via Docker

PageCarton now has a few files in its GitHub repository that helps to set it up on Docker easily. If you are familiar with Docker or a newbie, you should be able to get started with PageCarton...

article